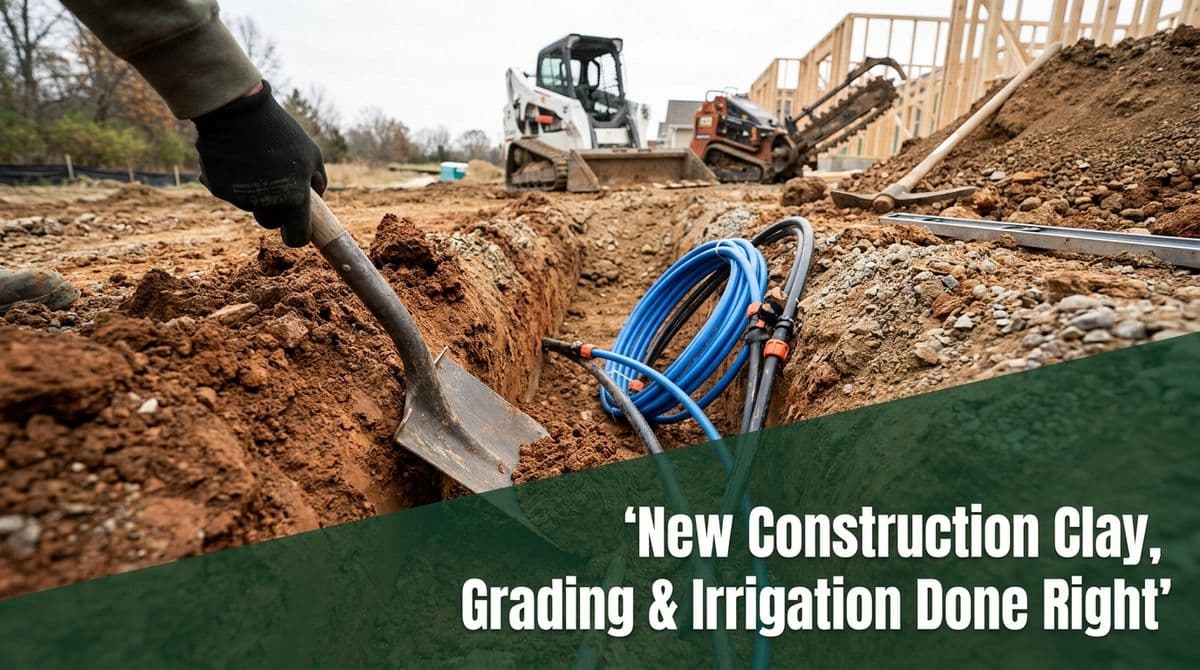
New Construction Clay, Grading & Irrigation Done Right
New construction, heavy clay, and no lawn yet? Learn how we fix grading, improve tough ground, and add irrigation the right way before you seed or sod.
New Construction, Tough Soil, and No Lawn Yet
We recently got a call from a homeowner — let’s call him Mark — who had done what a lot of folks do after building a home: tackled everything except the lawn.
Mark’s place was four years into “temporary dirt mode.” New construction, no landscaping, heavy clay full of rocks, downspouts dumping near the house, and not a proper sprinkler in sight. His wife was more than ready to retire the garden hose and finally enjoy a real yard. Mark told us he’d handled irrigation and grading work in the past, but the combination of clay, rocks, and hard labor wasn’t as appealing as it used to be.
We see this exact situation all the time: brand‑new or newer homes, tough soil, and a blank slate. So we’ll walk through how we think about projects like Mark’s — how to fix grading, improve clay, and install irrigation the right way before you put down seed or sod.
Step 1: Check Your Grade Before You Touch the Grass
The first thing we asked Mark for was simple: pictures of the dirt up against the house and a satellite view of the property. We wanted to know one key thing: how much room is there between the soil and the siding or foundation?
On a new build, it’s common for the dirt to be too high in places or sloped the wrong way. We’ve seen some real “doozies” where soil almost touches the siding, just begging for water intrusion.
What homeowners should look for
Before you call in help, walk around your house and check:
Clearance to siding: Ideally, you want several inches between finished grade and the bottom of the siding or any wood. If dirt is already close, don’t add more topsoil until it’s corrected.
Water direction: Does the ground slope away from the house for at least 5–10 feet? Or does it flatten out and send water back toward the foundation?
Downspouts: Are they dumping water right at the foundation, or extended 4–6 feet out into the yard?
In Mark’s case, he hadn’t had water intrusion, and the dirt wasn’t up to the siding — a good sign. But he was right to question the grade and downspout layout before investing in grass and irrigation.
Step 2: Plan Grading and Downspouts Together
Once we confirm we have some vertical room to work with — six to eight inches is ideal — we can start talking about reshaping the yard surface. For a home like Mark’s, with bare dirt and no existing landscaping, this is actually a great opportunity. It’s much easier to correct things before there’s a lawn.
Smart grading basics
Here’s how we generally approach grading around a new or newer home:
Build a gentle slope: Aim for a 5% slope for the first 10 ft around the house, then it can level out further away from the home
Avoid low pockets: We look for spots where water might pool after a rain and smooth those out or create subtle runoff paths.
Coordinate with future lawn areas: Mark wanted grass on only three sides of the house, we can plan for that when defining our grading zones.
Don’t forget your downspouts
Mark mentioned he might need to “get them moved away from the house,” and that’s exactly the right instinct. We always pair grading work with downspout adjustments:
Extend downspouts at least 4–6 feet away from the foundation.
Where possible, discharge water where turf or planting beds can absorb it.
If you’re planning underground drains, coordinate those routes before installing sprinklers or final lawn grade.
Step 3: Taming Heavy Clay and Rocky Ground
When Mark described his soil as “clay and a field of rocks,” we knew exactly what he meant. New construction often leaves you with compacted subsoil, construction debris, and very little topsoil.
How we improve clay before seeding or sodding
We like to think in layers:
Clean up: First, we remove larger rocks and construction debris so we’re not trying to grade over boulders.
Loosen the surface: We till or scarify the top few inches where possible to break up compaction.
Add organic matter: Compost or quality topsoil mixed into the top 3–4 inches helps clay drain better and hold nutrients.
Set final grade: Once the soil is improved, we fine‑grade it to the proper slope and smoothness for lawn.
If you’re on a budget, you don’t have to amend every square inch of the property. Start with the highest‑use areas: around patios, play areas, and the primary lawn zones you’ll see from inside the house.
Step 4: Plan Irrigation Around Your House and Water Source
Mark’s wife was done hauling hoses, and he wanted a permanent sprinkler system. The good news: he already had an exterior water outlet designed for just that — a frost‑free style connection on the side of the house ready to tap into.
That matters, because any water work inside the house usually means bringing in a licensed plumber. Once the water is outside, we can legally and safely work from that point out into the yard.
Key irrigation decisions for a new yard
For homes like Mark’s, we walk through questions like:
Where will the main lawn zones be? Front, sides, and the main backyard area get dedicated zones so they can be watered appropriately.
Any special areas? Mark mentioned a garden spigot and a chicken area. Garden beds may need drip irrigation; chicken yards can be rough on sprinklers and young grass.
Seed vs. sod: In traffic‑heavy spots or where animals are present, we often recommend sod so roots can establish before they’re pecked, scratched, or trampled.
Mark was open to either seed or sod, but was especially concerned about the chickens tearing up new seedlings. In a case like that, we usually suggest sod in the highest‑abuse areas and seed in the rest to balance cost and durability.
Step 5: Seed or Sod — and How to Protect Your Investment
Once grading, soil improvement, and irrigation are set, then it’s time for grass. At that point, the choice between seed and sod comes down to budget, timeline, and traffic.
What we typically recommend
Sod: Best for small, highly visible, or high‑traffic areas; gives you an “instant lawn” and handles pets and livestock better once rooted.
Seed: Cost‑effective for larger areas; with good prep and irrigation, it fills in nicely over a season.
With animals like chickens, we’ll often:
Use sod right outside coops or runs where scratching is worst.
Temporarily fence off newly seeded or sodded areas until roots establish.
Use your new irrigation system to keep soil consistently moist (but not swampy) during establishment.
Putting It All Together for Your Property
Mark’s situation might sound familiar: new construction, tough dirt, years of “we’ll get to it,” and a spouse who’s more than ready for a real lawn and sprinklers. The good news is that starting from bare ground gives us the chance to do things in the right order:
Confirm grade and siding clearance.
Adjust grading and downspouts.
Improve clay and rocky soil where it matters most.
Lay out irrigation from an exterior water source.
Finish with seed or sod — and protect it while it establishes.
If you’re staring at clay, rocks, and hoses and wondering where to start, we’re happy to take a look at photos, pull a satellite image, and give you a realistic plan and estimate. Done right, you’ll only have to fix grading, soil, and sprinklers once — and you’ll enjoy the lawn for years to come.